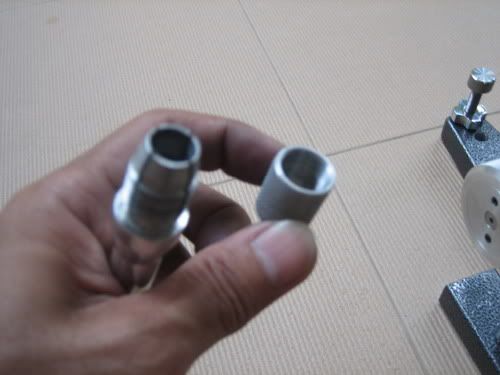
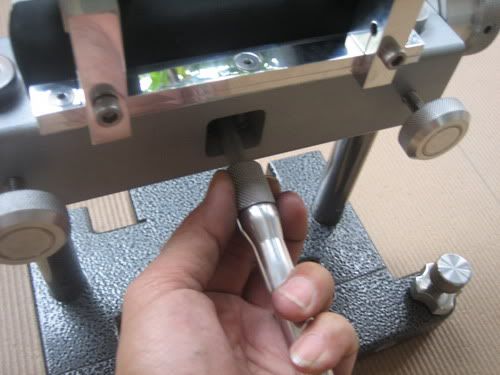
Update on the new rest, need input/cristism rather than compliment
Good morning,
You might probably seen this already...
http://www.targetshooter.co.uk/
http://www.accurateshooter.com/bulletin.html
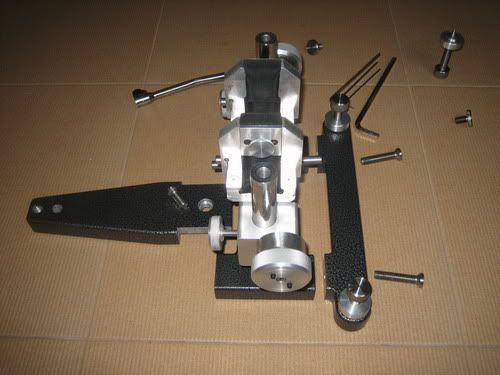
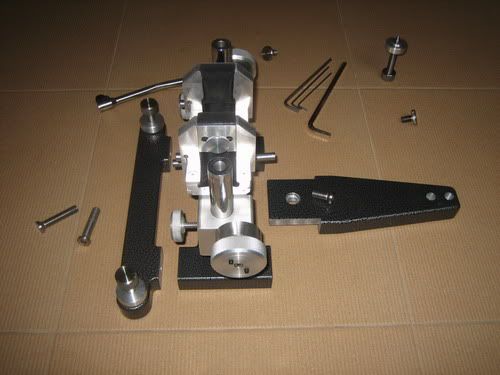
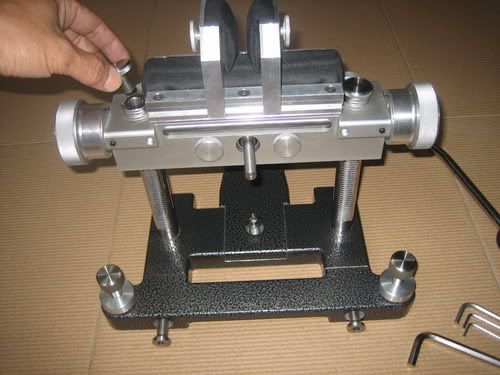
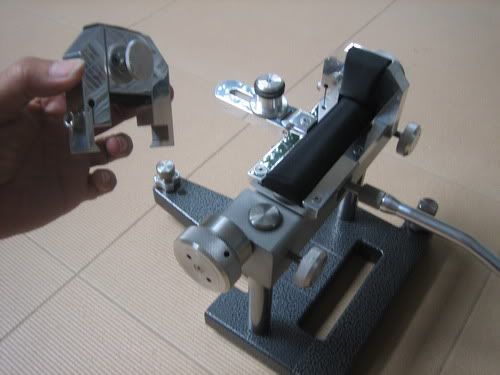
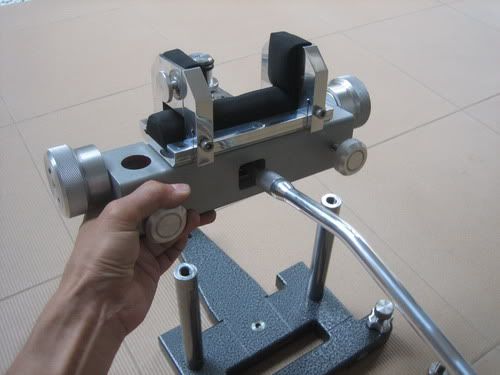
Here bellow some more pics of my new model rest...
I have sent several prototypes and received feedback/inputs from some.
Anyway, I also hope I can get more inputs & critisms from this forum, for possible improvements/changes.
Please. I know there are a lot of experts / experienced shooters here.
But only for inputs or cristisms, please...
In your opinion, WHAT THING(S) I STILL CAN IMPROVE / CHANGE / ADD on this rest?
Here we go...
The "Neo" will come with a wood block leveler, an "alignment cord", 4 allen wrenches, a manual sheet, and perhaps a DVD manual.
The wood block leveler is 3" by 2 1/4" with a "cross slot" in the center, so you would be able to set the bubble level (it will be a rectangular precision level) to your needs / according to your rifle stock's width. Or you can glue it yourself if you only use 3" stock, or 2 1/4" stock. Kinda like a bit "do it yourself" leveler.
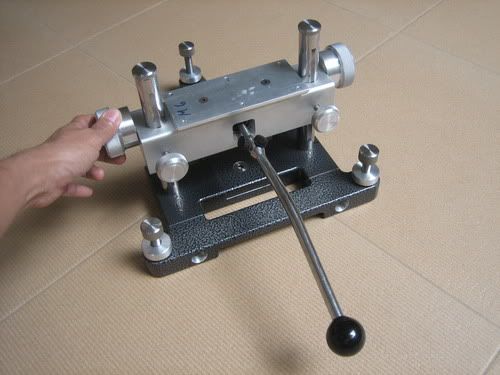
You can set the base like this....
Or like this....
You CAN choose to operate the joystick & rest top in the same direction, or in reverse motion. (It's spesific to the SEB rest & the only one in the market. It can also be used either for right or left handed shooters without any modification)
You can choose to set the singe leg in front (on muzzle side), or at rear (shooter's side).
If you set the single leg at rear, the leg screw supposed to be very short, or "flush?", to not interfere with the joystick handle.
I will provide/include the screw option in the package.
I will also make another screw hole on the single leg, further back, so you'd be able to use the rest with the single leg in front, on a short bench top. (what you need is just to place the front screw further back).
Sorry my enlgish is not very well, I hope that you can understand with what I mean...
The alignment cord is made only to help center alignment between the front rest and rear bag, straight to the target.
It can also measure the distance between the front bag and the rear bag if you put "mark" on the cord. (marking pen or so would work).
Final alignment/setup by your rifle.
End post's stopper.
You will need to put the (2) stopper in place.
Instead for stopper, it will also protect the end posts from possible hard bump or so.
You can make a custom "L" plate to attach your timer and hold it between the post and stopper, for "more organized" setup.
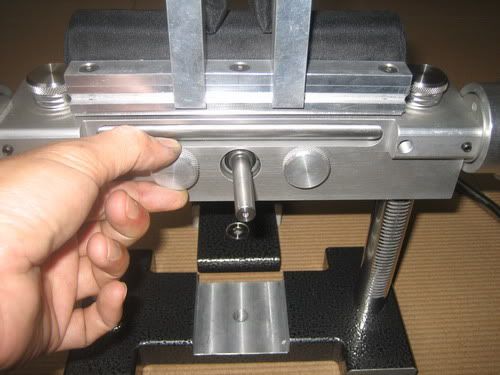
You can aslo attach your timer on the "spare" screw hole on the carriage. (it's a standard metric M8 thread). ***Although not recommended, you can put the locking knobs on this thread, to facing you, in the reverse mode. You can attach an ammo holder/tray between the rear leg & screw counter nut, either to the left or right of the rear leg.
The regular seb ammo holder set would work on this rest when you set the leg w/ integral carrying handle at rear (like the base config shown in the photo above).
You will need to set the coaxial unit (carriage) at the highest position to remove the side plates, or when to fill the bags with sand. It would clear the end top posts.
You can also remove/slide off the carriage from the twin columns, if you wish.
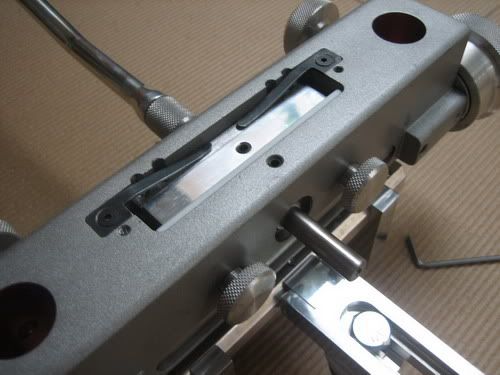
If you remove the cover bottom plate, there are two leaf springs under the vertical sliding plate, to accept more weight on the top. (= it has a positive "built in" upward tension).
You can remove the teflon sheet, if you wish, such as for cleaning.
Tension adjustment can be done very easily, no tool is needed. It's just thumb screw type. It's large enough, knurled, with nylon insert inside for no lash.
***Counter nuts will be provided if you ask.
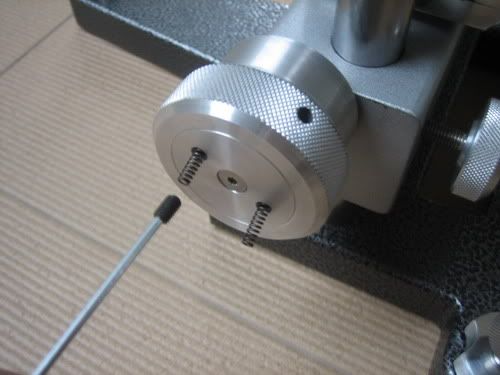
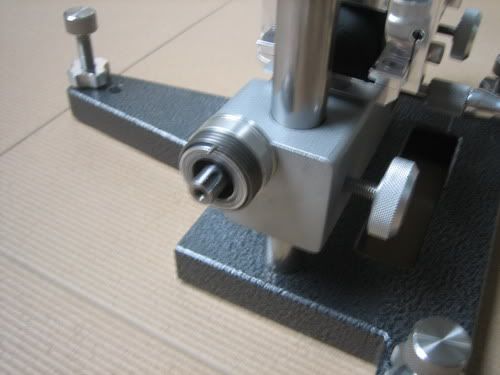
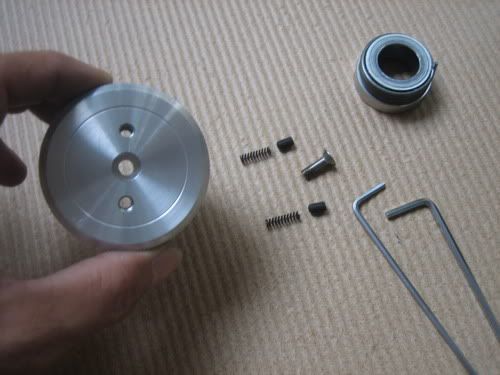
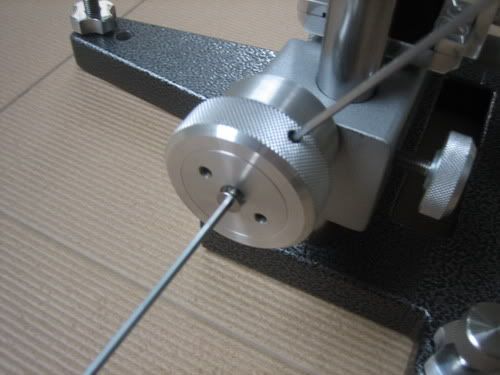
Two handwheels with adjustable "disc brake system" inside.
This that makes the carriage to "stop" at desired position, with extra smooth movement & almost no lash.
The idea,...it's similar to the "springs" you find on allen wrench sets. The spring would "bite" (the brake drum) instantly when it is rotated in the same direction and would loose when it is rotated in reverse direction. It works. ;D That's why I said the coaxial unit/carriage alone is "more complex" to make than making a bolt action. All the parts also CNC'ed with exacting tolerances.
Rack & pinion system with integral teeth.
Made from stainless steel SUS 420J.
New collet type joystick head attachment.
Many thanks in advance,
seb.


