You are using an out of date browser. It may not display this or other websites correctly.
You should upgrade or use an alternative browser.
You should upgrade or use an alternative browser.
What are some after chamber checks and proceedures you do?
- Thread starter DSM
- Start date
JerrySharrett
Senile Member
After finish reaming a chamber and recleaning he bore the next thing I do is look at the feed ramps of the leade to assure they are all the same length. If not, its redo time because something went BAD wrong. Then I polish the ramps with Aluminum oxide lapping compound of about 300-350 grit. This does away with most of the coppering that shows up during break-in.
JerrySharrett
Senile Member
Another thing, does running a long point indicator inside the finished chamber at random areas a meaningful test? Shoulder, neck, leade area?
It tells you if the chamber is out-of-round, nothing else. So what if it is out-of-round? You will always have trouble getting a proper fit on your sized brass because the brass will be round and the chamber not.
Last edited:
JerrySharrett
Senile Member
Thanks Jerry! If they are not the same, what are the typical causes? Improper reamer pilot? Crooked bore pulling it?
Several things wrong in the setup can cause this. The undesired part of the outcome is the bullet starts with in-bore yaw.
Jerry
If we put a long stylus indicator in the bore before chambering to dial the barrel in and see if we are running true, then why after chambering the barrel does that same long stylus indicator stuck up in the chamber tell us nothing, except if the chamber is round? Just trying to learn something here.
How do we check our work? Lee
JerrySharrett
Senile Member
Jerry
If we put a long stylus indicator in the bore before chambering to dial the barrel in and see if we are running true, then why after chambering the barrel does that same long stylus indicator stuck up in the chamber tell us nothing, except if the chamber is round? Just trying to learn something here.
How do we check our work? Lee
Greg, if you indicated closely first as you stated then predrill the chamber body (mostly to save wear on the reamer), then prebored some of the body, used a close fitting bushing (is will be guided by where you just indicated), and then reamed the chamber, it will run true....unless the workpiece moved during the machining....or it will be out of round, meaning you used a driving mechanism that does not float with the spindle rotation.
On small lathes like we use, sitting on foundations (base) we use, the tailstock (driving) axis will never maintain perfect alignment with the rotational axis (spindle)...fact! It may be true for a short period but eventually it will move and when you have a reamer cutting along one path and the workpiece rotating along another path bad results will happen.
As the workpiece rotates, if the reamer is forced off that rotational axis by, say, a non floating holder (tailstock center, a reamer holder that does not freely float...whatever) the reamer will cut an out-of-round hole since it is trying to follow the rotating workpiece and can't.
During an installation a few years ago we installed a Monarch 48 x 228 lathe on an isolated base we had poured that was 72" wide, 60" deep and 250" long, reinforced concrete. The foundation had been allowed to set for 30 days. We put a very accurate laser alignment system in the tailstock and monitored the spindle as it rotated. Several times during each test day the entire setup would move at least a few thousands sometimes several thousands over an 8 hour period.
So...if the chamber does not run true after you finish it, something screwed up along the way (machine operator, machine, etc.).
thanks jerry. Whats the best method to use to check your work after a chamber is cut? just a simple inspection of the free bore and lead angles? most all my chambers after finished will read .0001 to .0002 with a indicator stuck up inside the chamber. that's total read. thanks again jerry. lee
Last edited:
Jerry, that definitely makes sense. I am on the same thought about tailstock alignment. I try to keep mine aligned as best as I can. I definitely would not trust holding a reamer or pushing with a center. I made myself a simple pusher and works fabulous.
Do you use a loupe to look inside or a bore scope. I don't have a scope, so looking for an alternative till I obtain one someday. I heard of guys using a loupe and wonder what kind of loupe used.
I find the same thing skeet. I finished a chamber this past week with a Henriksen Dasher reamer and checked the concentricity with my long stem Interapid and I got zero runout all the way up the body, neck and leade. I took a double take on the indicator thinking the point wasn't touching the chamber since I did not detect any needle movement. Moved it up around halfway up the leade and the needle bounced up and down on the same lines. This was the reason for my questions...not sure if this is the only thing to check for or if I just ran into a fluke not being able to detect much run out in concentricity. I know I measured runout using that jabroni reamer holder i had.
Last edited:
JerrySharrett
Senile Member
Jerry, that definitely makes sense. I am on the same thought about tailstock alignment. I try to keep mine aligned as best as I can. I definitely would not trust holding a reamer or pushing with a center. I had a bad experience with a floating reamer holder made by a member of another forum. Just not a good design and induced run out. I made myself a simple pusher and works fabulous.
Do you use a loupe to look inside or a bore scope. I don't have a scope, so looking for an alternative till I obtain one someday. I heard of guys using a loupe and wonder what kind of loupe used.
I find the same thing skeet. I finished a chamber this past week with a Henriksen Dasher reamer and checked the concentricity with my long stem Interapid and I got zero runout all the way up the body, neck and leade. I took a double take on the indicator thinking the point wasn't touching the chamber since I did not detect any needle movement. Moved it up around halfway up the leade and the needle bounced up and down on the same lines. This was the reason for my questions...not sure if this is the only thing to check for or if I just ran into a fluke not being able to detect much run out in concentricity. I know I measured runout using that jabroni reamer holder i had.
Using a borescope is the best way to inspect the finished chamber in its critical spot, where the cut part merges into the existing bore. With great eyesight and knowing what to look for, all the ramps being symmetric, is probably the second best check.
Your Interapid indicator not showing any runout or out-of-roundness shows your setup and process are correct.
I hate to even bring these up, but I will as there may be some insight here.
The very first barrel I ever chambered in my life was a 6 ppc I did for myself. This barrel took the better part of 10 hours to chamber. I had been running my lathe for a total of 7 times before I figured I was ready. LOL!! I hadn't ever even touch a lathe until I bought the little 13" jet I am speaking about. Zero exposure to a lathe.
I had a used .0005 indicator, that I wasn't even sure was calibrated properly, and I had a PTG range rod with only two bushings. That being a .2360, both of them. My barrel was a Krieger .237 bore.
I spent several hours dialing in this barrel. Because of the bushing I had I couldn't get every last bit dialed in like we would all like. I got the barrel as close as I possible could, and called it. Truth be told, I should have stopped, and waited for my bushing set that I had on order.
I had a floating pusher that I bought from a fella on another forum, and I used my reamer cutting .030 at a time, for the hole chamber. Took forever!!
When I was done, and my action fit properly, I decided I better stick my indicator in the chamber just to see what it said. I was spooked to say the least. My read on my .0005 indicator was .0015. I had thought I failed, and in fact I probably did.
I had no choice but to shoot that barrel as the match was fast approaching, and I had nothing else worthy of taking. To my surprise while shooting at home, that barrel just hammered. I mean flat ass shot!!! I took the barrel to St Louis and left with a piece of wood. I don't think it was first place, but it may have been, I would have to look. I do know it was a 100 yard trophy.
So I don't know what any of these really means, and there isn't any way I would except that result today, but that Krieger sure shot well. Makes me wonder just how much better it might have been, had I known what I was doing??? Lee
Boyd Allen
Active member
The fellow that chambered the first several barrels for my first 6PPC pushed my reamer with a dead center mounted to the saddle some way or the other, so that its alignment could be adjusted based on a magnetic base and indicator mounted on the chuck. I have to say that all of the brass interchanges beautifully between those barrels, and that except for a .001 change in how they standardize headspace specifications that for how they chamber PPCs the headspaces of the barrels are virtually identical. The late that he used is probably larger and more expensive than is typical for gunsmiths, and he sets up through the headstock, doing all of his indicating off of the back of the chamber end of the barrel. Cutting fluid is pumped through the bore, and all of the break ins have been short and uneventful. I believe that he also indexes. The main point of my post is that the results seem too be very good with his method, and that it is one that is not what I typically read about. Since the alignment of the spindle's axis of rotation to the ways is considered so important, perhaps using a saddle mount for the pusher might have something to recommend it. What do you think?
Boyd
I have often wondered about that method. The only possible problem or situation I see is the feed. My saddle moves pretty fast. It would or could be a little tricky to move the saddle/reamer that final .001 without going past. My buddy tom has a cnc lathe, and his saddle feed is geared so that he can make precise moves if he so chooses. Might be worth a try though. Lee
I have often wondered about that method. The only possible problem or situation I see is the feed. My saddle moves pretty fast. It would or could be a little tricky to move the saddle/reamer that final .001 without going past. My buddy tom has a cnc lathe, and his saddle feed is geared so that he can make precise moves if he so chooses. Might be worth a try though. Lee
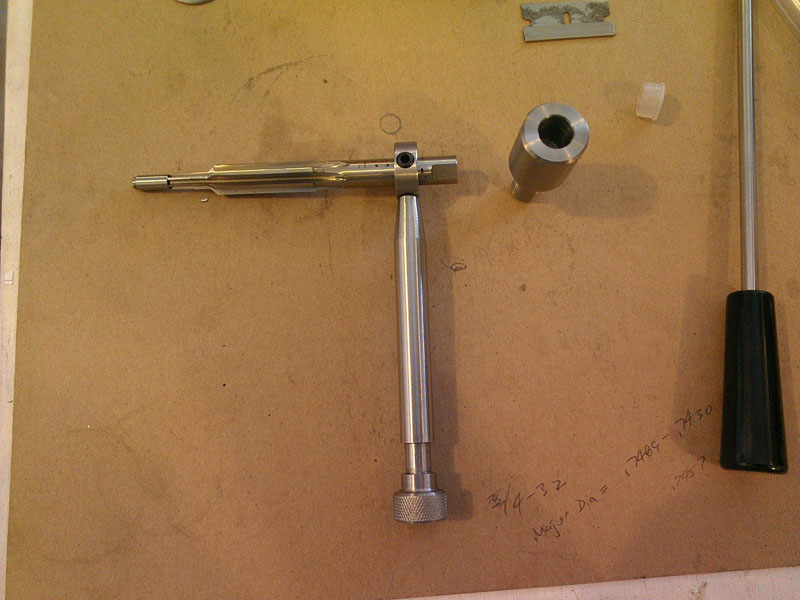
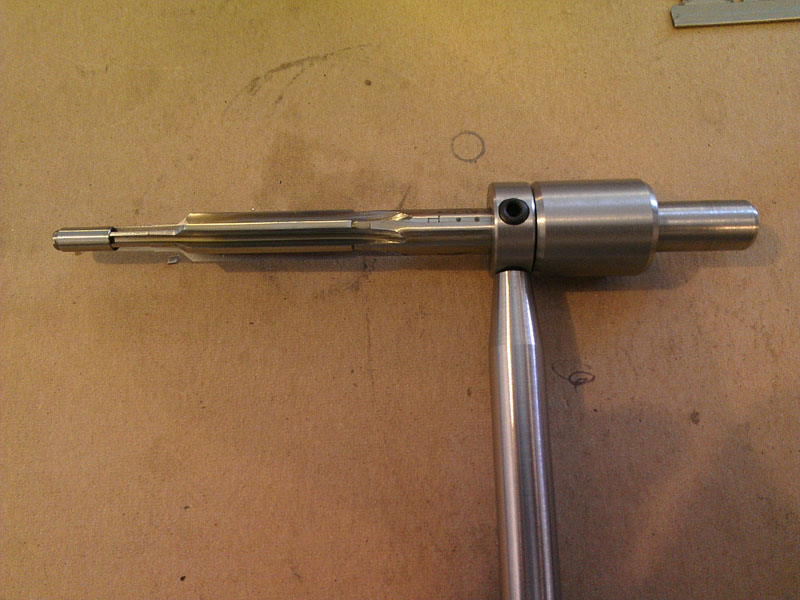
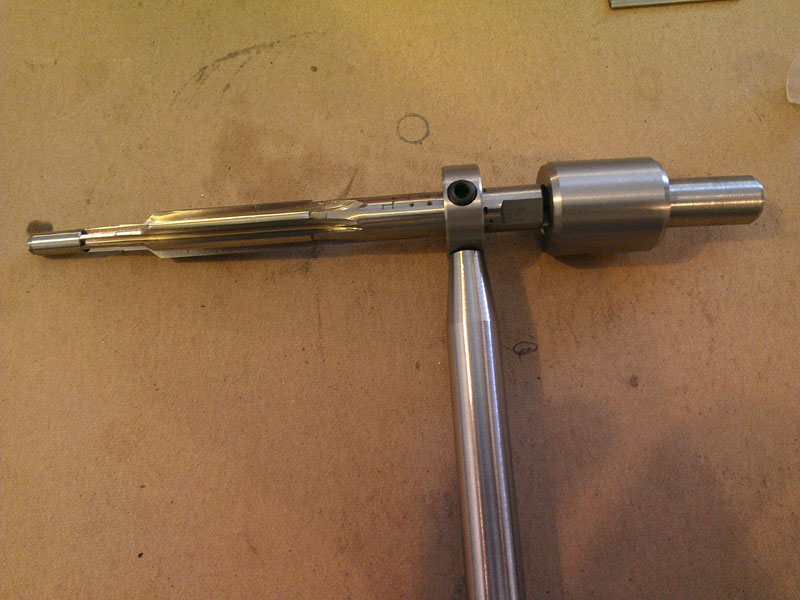
Yeah, pushing with a saddle on a manual lathe would not work out very well, at least IMO. Controlling the depth would be a pain as well as using the handwheel to force the reamer inward. I made a super simple pusher and reamer handle and the pusher is held in the tail stock with my drill chuck. The DRO on the tailstock is a life saver when getting down to the nitty gritty depth wise. A dial indicator would do equally as well.
Last edited:
DSM
I tried to modify that pusher, and I never could get it like I wanted it. Its about to go in the trash! Lee
I know what you mean...I thought about modifying the one I had too, but sold it instead. Made a pusher out of a piece of barrel and a 303 rod for a handle. 20 minutes and didn't cost me anything!
Last edited:
JerrySharrett
Senile Member
For best results use (make) a Mike Bryan style floating pusher and never look back!!
Dave Tooley
Active member
Using a borescope is the best way to inspect the finished chamber in its critical spot, where the cut part merges into the existing bore. With great eyesight and knowing what to look for, all the ramps being symmetric, is probably the second best check.
Your Interapid indicator not showing any runout or out-of-roundness shows your setup and process are correct.
Jerry,
Get a watch makers loupe. 4X gets you a 2 1/2" focal length and works fine for 308 length cases and shorter. It takes 10 seconds to inspect for concentricity and finish. See link below. 3X works for long magnums. I wouldn't be without them. you can easily see a few tenths runout.
www.ofrei.com/page354.html
Last edited:


