
You are using an out of date browser. It may not display this or other websites correctly.
You should upgrade or use an alternative browser.
You should upgrade or use an alternative browser.
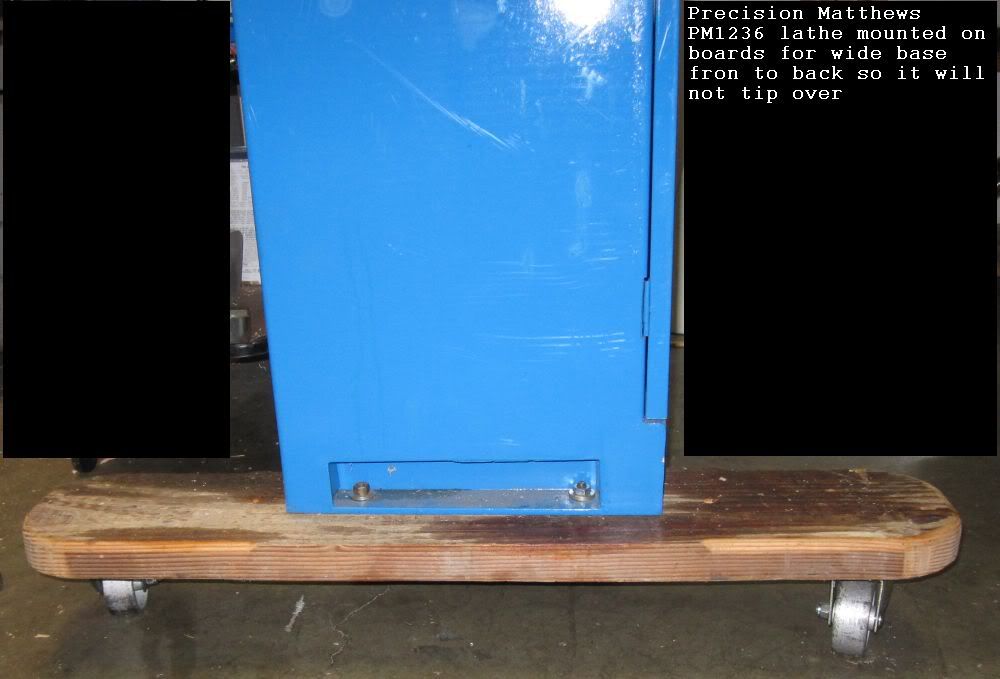
Precision Matthews 12x36 just arived
- Thread starter JonathanK
- Start date
JonathanK
New member
Another thing...The machine doesnt come with leveling pads, They have some rubber pads but they 100$ extra. I got the pads from them so far I havent been able to get it as solid as I would like, there is a little bit of mush to it. Im gonna try some other things tonight and see if I can get it solid with these pads.
JonathanK
New member
Jonathan does yours have the correct size plate as advertised?
which plate?
C
chuck williams
Guest
i have the same machine. there are holes in the bottom of the stand. i welded nuts over these holes and made leveling feet with bolts. works very well and it solid enough. USE EXTREME CAUTION when moving though. the machine is very top heavy especially when you mount the leveling feet as they sit inside the already narrow footprint.
chuck
chuck
JonathanK
New member
I have the same machine, on wheels.
Thats a great idea...Ive had some issues getting it solid because of the small footprint. Do you happen to know an easy way to change the belts to the other gears?
JonathanK
New member
I am envious! What do you have to do to switch from threading inch to threading metric on the PM?
Regards, Ron
Have to physically change some gears for metric
K Axtell
New member
I have the same machine, on wheels.
I'm confused as to how you adjust for level and twist in the bed. Or is this just for ease of movement to its final location?
The lathe stays on wheels.
The mill stays on wheels.
The TIG welder stays on wheels.
JC keeps all their big machines on felt pads, and never level anything:
http://jcmfg.net/
They do machining that is much more precise and difficult than the simple rifle barrel threading and chambering I am doing, so I don't need to bother with felt.

![PM1236 lathe configuration for 12 TPI needs to be 48....127....Z [24].jpg](https://benchrest.com/forum/data/attachments/3/3255-fe362d7d8f657ee2087642ff57ce307f.jpg "PM1236 lathe configuration for 12 TPI needs to be 48....127....Z [24].jpg")
Thats a great idea...Ive had some issues getting it solid because of the small footprint. Do you happen to know an easy way to change the belts to the other gears?
For barrels, up on the head, you want the letter lever on A and the number lever on 1. That gets you down to 65 rpm if the belts are configured for the slow mode.
Down on the lead screw gear box below...
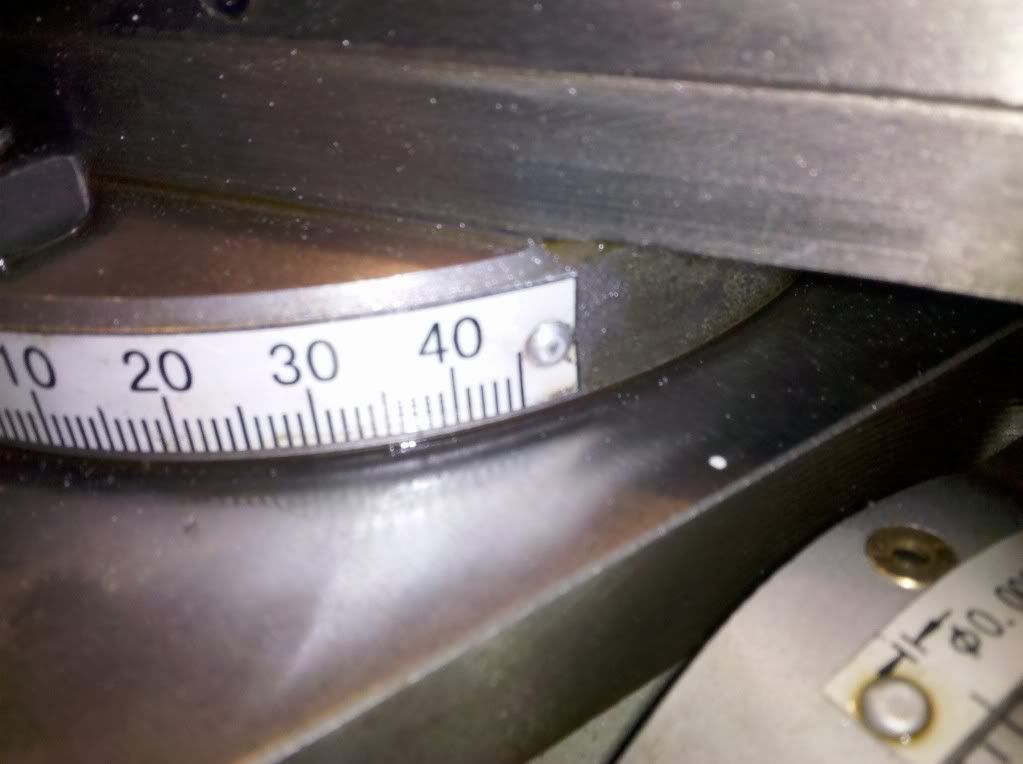
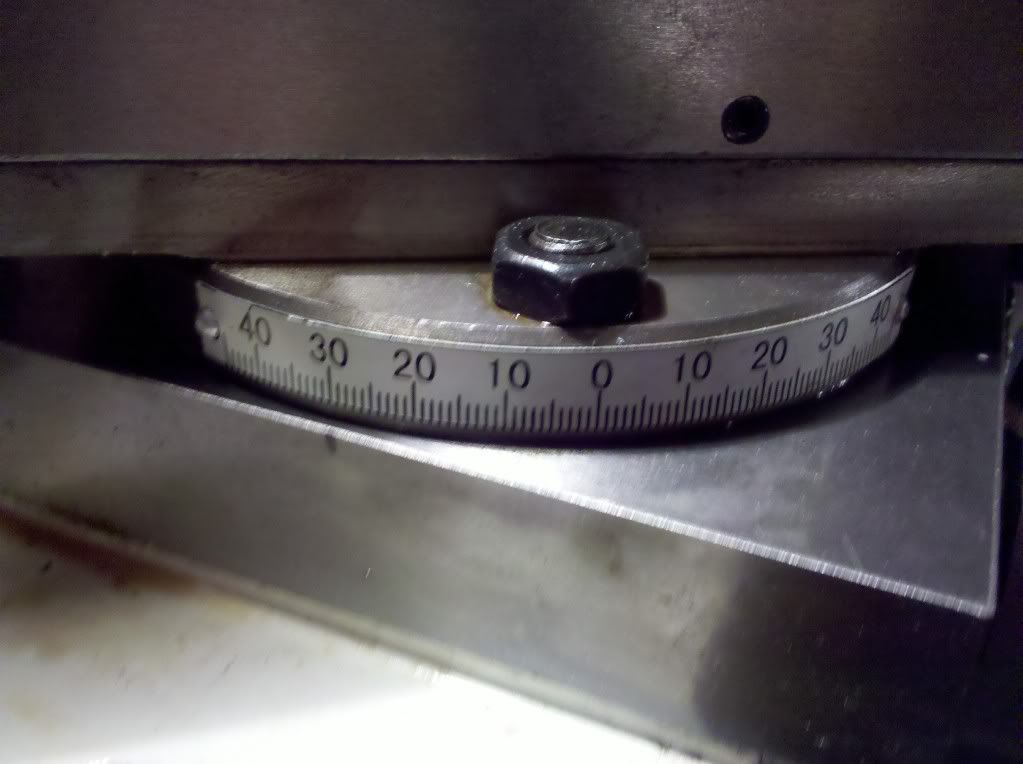
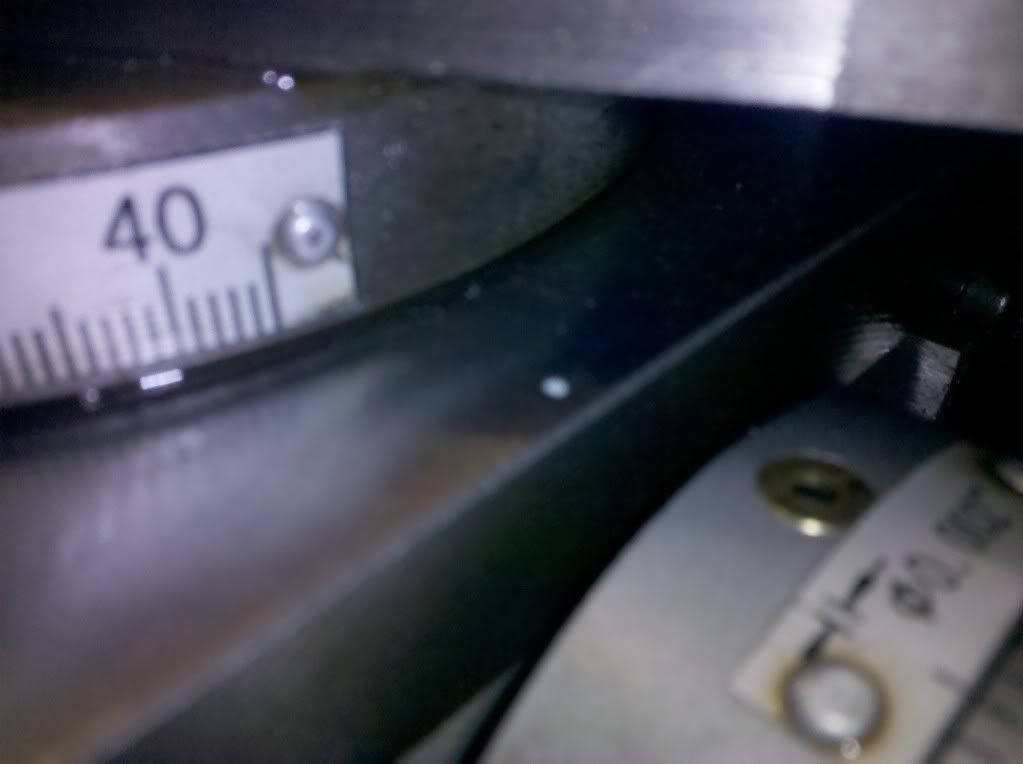
What this digram on the front of the PM1236 means is 12 TPI Mausers get the 48 tooth gear on top, the letter knob to C, the number knob to 3, and the Roman numeral knob turned to I.
While 16TPI rem700 barrels get the 24 tooth gear on top, the letter knob turned to A and the number knob turned to 2, and Roman numeral knob turned to II.
In order to change the gears from the bottom half of the pic to the top half of the pic, here is what I do:
Put the lead screw gear box in neutral. That is the lever for lead screw direction put in the middle.
With 3/16" or 5mm Allen wrench, remove cap screws on the two gears shown.
With 11/16" or 17mm open end wrench loosen outside center of 117 tooth idler gear.
With 11/16" or 17mm open end wrench loosen banjo underside behind of 117 tooth idler gear.
Swap the 24 tooth gear and 48 tooth gear.
Do not pry hard against the bearing seal to get the gear off.
Reassemble by alternating between tightening nut at center of 117 tooth and banjo bolt until the backlash in the 3 gears is minimized, but the bearings are not preloaded.
When lead screw gear box knobs are set to:
Upper left to 3
Upper right to M
Lower left to C
Lower right to I
Then there the threads cut will be 12TPI if the 48 tooth is on top and the 24 tooth is on the bottom.
Then there the threads cut will be 48TPI if the 24 tooth is on top and the 48 tooth is on the bottom.
Expect to spend 10 minutes and get the grease on the hands the first time.
Metric is much harder.
Last edited:
JonathanK
New member
View attachment 11015
For barrels, up on the head, you want the letter lever on A and the number lever on 1. That gets you down to 65 rpm if the belts are configured for the slow mode.
Down on the lead screw gear box below...
What this digram on the front of the PM1236 means is 12 TPI Mausers get the 48 tooth gear on top, the letter knob to C, the number knob to 3, and the Roman numeral knob turned to I.
While 16TPI rem700 barrels get the 24 tooth gear on top, the letter knob turned to A and the number knob turned to 2, and Roman numeral knob turned to II.
In order to change the gears from the bottom half of the pic to the top half of the pic, here is what I do:
Put the lead screw gear box in neutral. That is the lever for lead screw direction put in the middle.
With 3/16" or 5mm Allen wrench, remove cap screws on the two gears shown.
With 11/16" or 17mm open end wrench loosen outside center of 117 tooth idler gear.
With 11/16" or 17mm open end wrench loosen banjo underside behind of 117 tooth idler gear.
Swap the 24 tooth gear and 48 tooth gear.
Do not pry hard against the bearing seal to get the gear off.
Reassemble by alternating between tightening nut at center of 117 tooth and banjo bolt until the backlash in the 3 gears is minimized, but the bearings are not preloaded.
When lead screw gear box knobs are set to:
Upper left to 3
Upper right to M
Lower left to C
Lower right to I
Then there the threads cut will be 12TPI if the 48 tooth is on top and the 24 tooth is on the bottom.
Then there the threads cut will be 48TPI if the 24 tooth is on top and the 48 tooth is on the bottom.
Expect to spend 10 minutes and get the grease on the hands the first time.
Metric is much harder.
Thanks for the info!!!!!
B
bigngreen
Guest
I've come close to getting this lathe but had to divert funds. I was wondering what barrel length you think is workable though the head stock?
F
frwillia
Guest
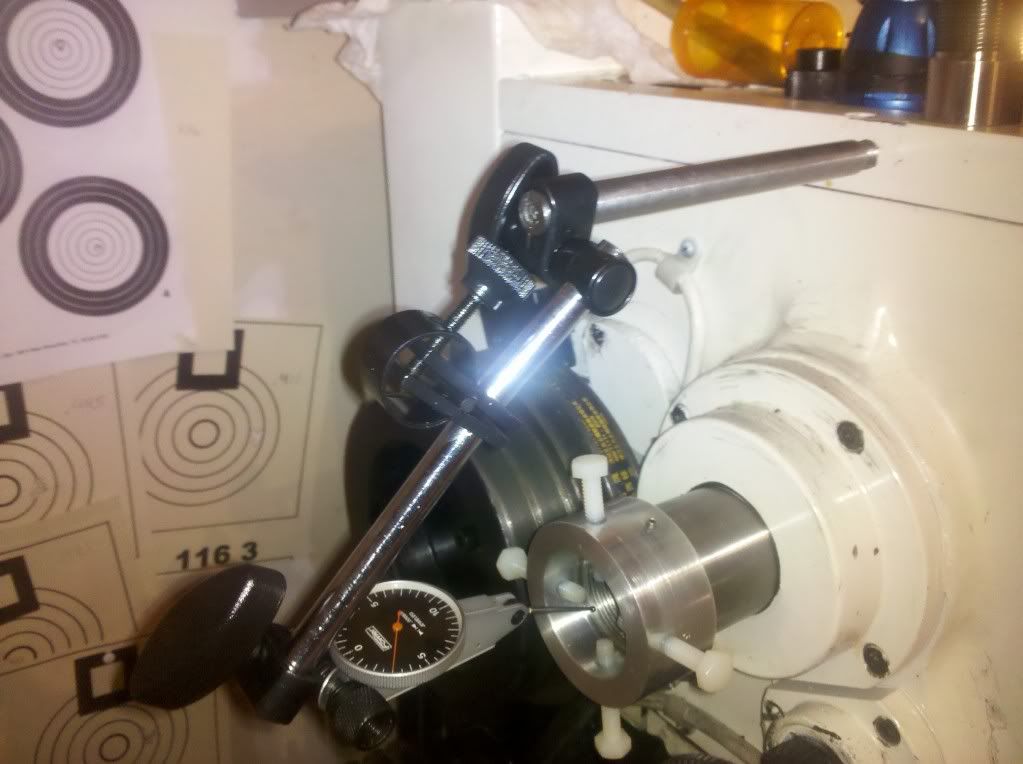
The shortest barrel that could reach the adjusting bolts in the left side spider I made on my PM1236 would be 22" with the supplied 3 jaw chuck, 23" with the supplied 4 jaw chuck, and ~ 19.5" if someone made a right side D1-4 spider.
Make your own spider. I made this one in an afternoon that bolts to the back plate from my 4J chuck:

I recessed the spider bolts so they wouldn't turn into rotating meat hooks. That's easier to see in this picture (taken before I added the brass pads to the spider bolts):

Fitch