gstprecision
New member
I have to bore and rethread some brakes for Tikka M18x1. After reboring and threading I wanted to re-bore the holes to proper caliber at the same time to keep everything concentric.
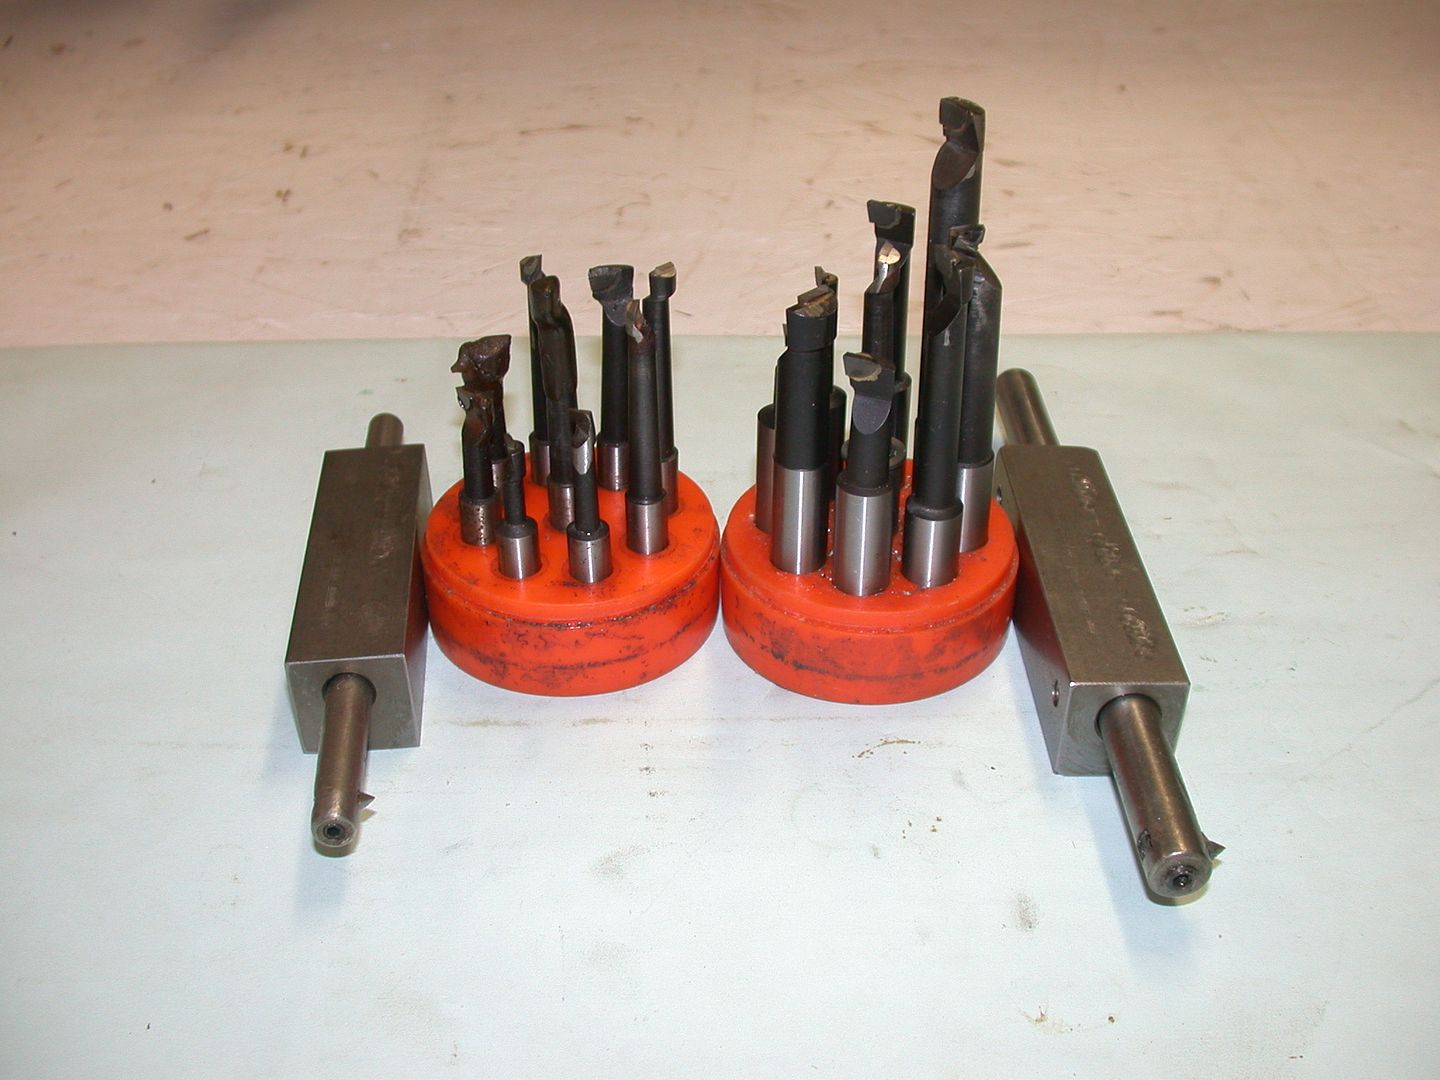
My problem is that my boring bar is extending so far out of the tool post it flexes and does not cut at all. Any tricks or other boring bar design? I have a mini 1/8 boring bar for minimum bores of 0.200"
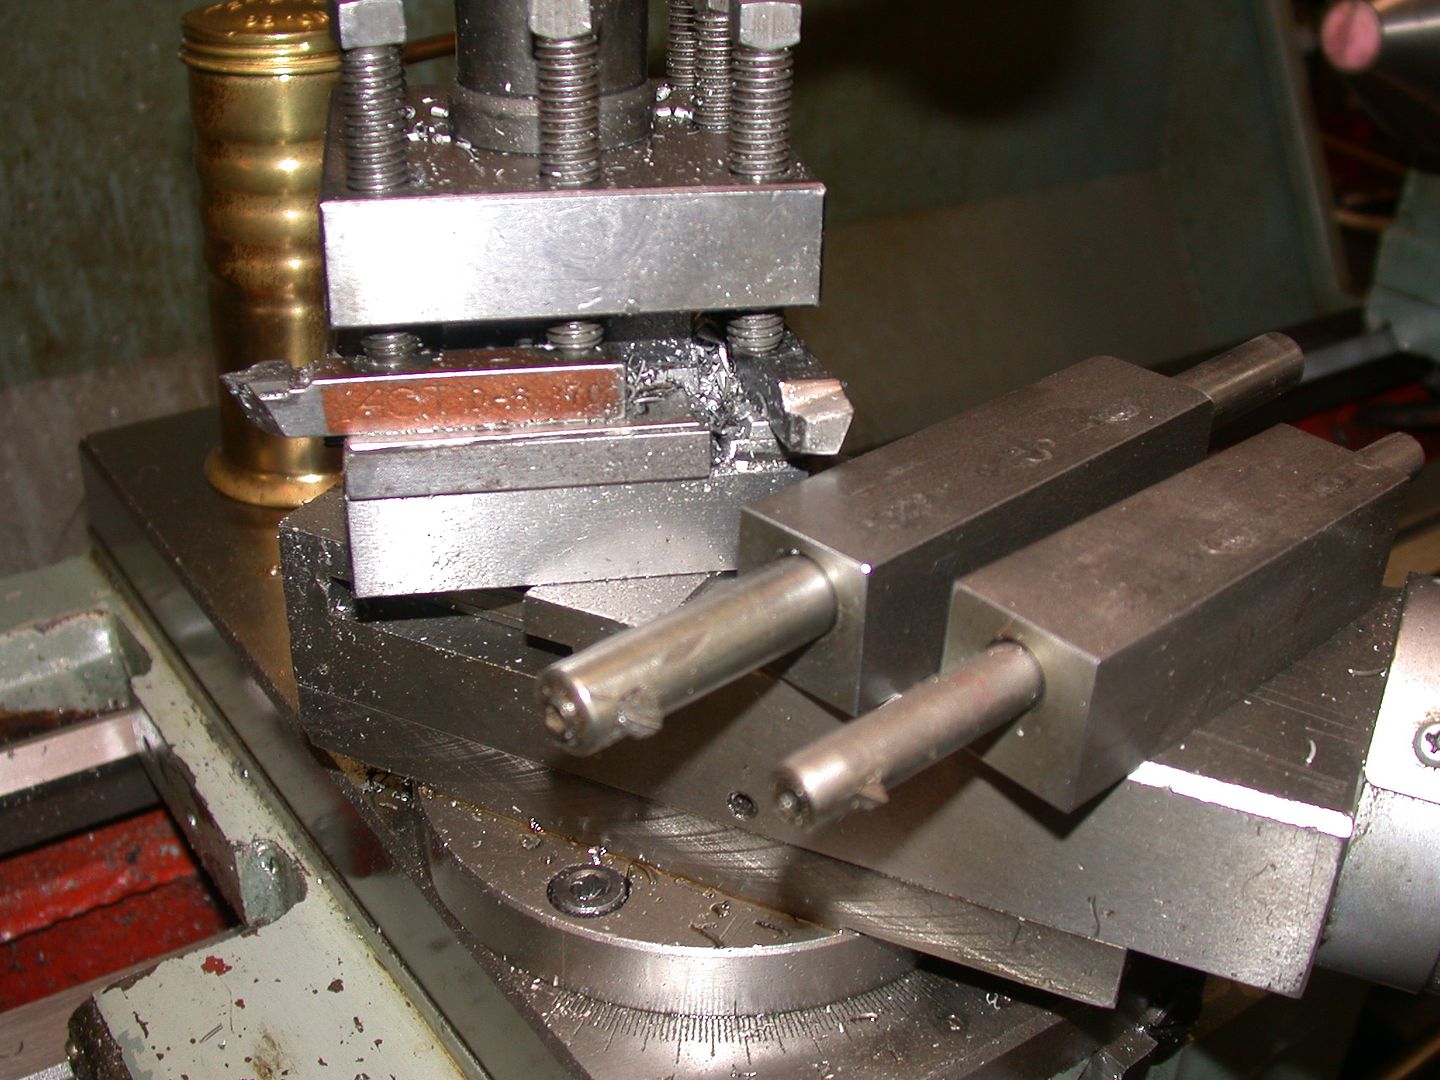
I was thinking of placing the boring bar in a round stock to compensate for that, leaving just enough to go through the brake.
Thanks
GST
My problem is that my boring bar is extending so far out of the tool post it flexes and does not cut at all. Any tricks or other boring bar design? I have a mini 1/8 boring bar for minimum bores of 0.200"
I was thinking of placing the boring bar in a round stock to compensate for that, leaving just enough to go through the brake.
Thanks
GST